
Christy Miller – Oak Hill Millworks

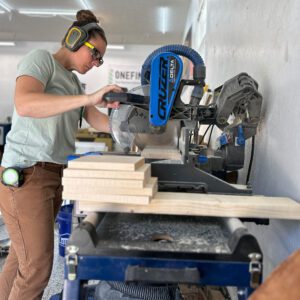
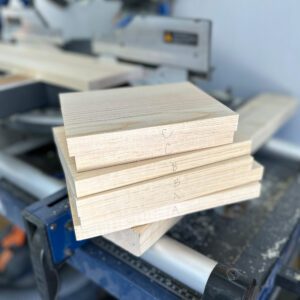
Use whichever cutting tool you have to get each of the parts cut to size according to the cut list. You may want to wait to cut Parts E & F for later in case you need to shave a little off or make them a little longer to fit nice and snug. Leave the handle for later.

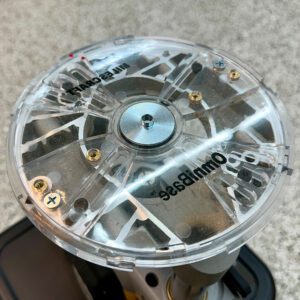
Use the instructions provided in your Milescraft MetalBushingSet™ Router Template Guide Set for the most complete set of instructions on this step. To prepare your router for use, make sure to choose the corresponding bushing to go with the bit you are using. A plunge router is ideal for this type of work but a palm router could also be used with very shallow passes and some extra care.
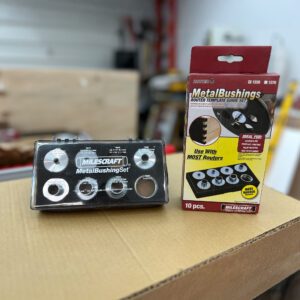
Fast Facts for Setting up the Router with Metal Bushings:
– The Milescraft MetalBushingSet™ is compatible with all router sub-bases that have a 1-3/16” center hole diameter
– The kit is available in both imperial and metric sizes
– Compatible with the Milescraft OmniBase™
– You should test bit movement through metal bushing prior to router start up to ensure it is centered and not making contact with the bushing
– Stays locked in place with the wave washer and lock nut

Select Part B, the 8.25” x 5.5” piece to carve a design. Secure the piece of wood to your work surface with double-sided tape, keeping in mind that you will be cutting through it, so a piece of scrap beneath it is a good plan. The acrylic template will also be secured with double-sided tape to the pine board.
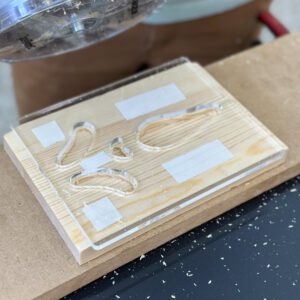
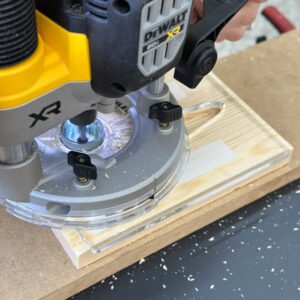
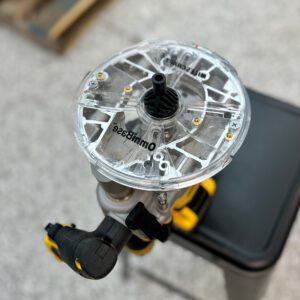
A 1/4” or an 1/8” bit will work with these templates. Here, a 1/4” bit is being used so the 70292 metal bushing was used with the OmniBase™ installed on my plunge router. If you have a long enough 1/8” bit to make it through the 3/4” material, use that and pair it with the smaller profile 70290 metal bushing for better detail on designs.
The metal bushing will ride along the inside of the template. Continue to clear out the remainder of the material, carving away about 1/8” – 1/4” at a time, depending on the router you are using. Move your router in a clockwise pattern when on the inside of a template to keep the most control.
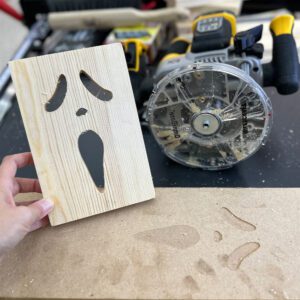
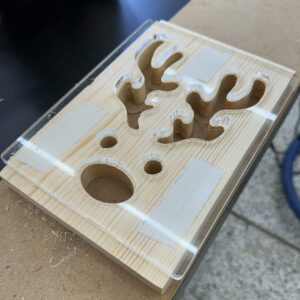

If you intend to display your lantern outdoors, it’s a good idea to apply a finish to it to prevent weathering. A light sanding with 150 grit sandpaper, followed by 180 will help open the grain and prepare it for painting or staining. Let dry before assembly and plan to do any last coating of clear finish after assembly. Rattle can finish might be best for this application.
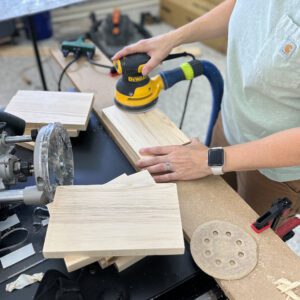

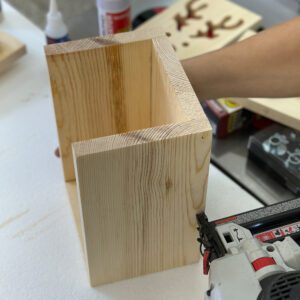
Time to put this gorgeous wooden lantern together! Great job so far. I decided to lay it out flat like an “exploded view” so that I could picture where I would be putting glue. I used my MC-Square150™ to keep things aligned on glue-up.
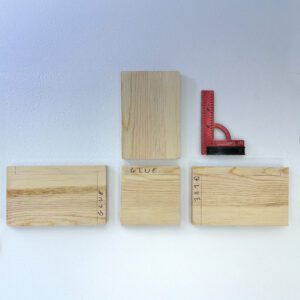
I recommend first putting your glue on the bottom and sides while laying flat and then assembling Parts A, B, and C first. If you use a few dabs of super glue as well as wood glue like I did, you can simply hold the parts together with some gentle pressure for about 30 seconds and the super glue will act as your clamps while the wood glue takes longer to dry. I also put a few 18g brad nails through the sides for extra hold.
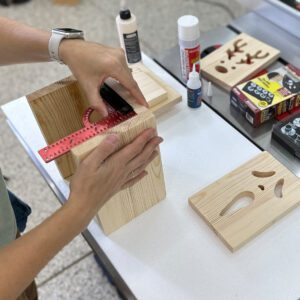
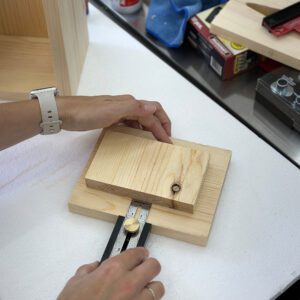
Moving on to assembling the lid. You’ll want to space one of the Part D 3.25” pieces 3/4” from the back of the lid and centered side to side. This way, it will rest up against the back of the lantern and serve as a stopper for the face. Likewise, a second 3.25” Part D piece should be installed inside the lantern on the bottom up against the back wall to serve as another stopping point for the face.
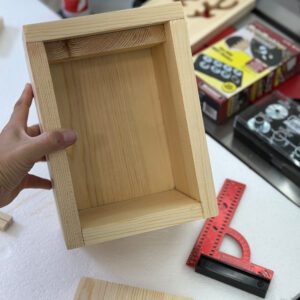
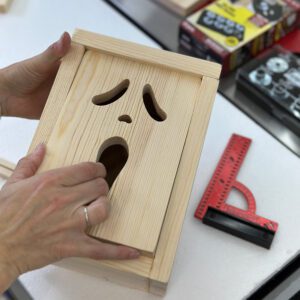
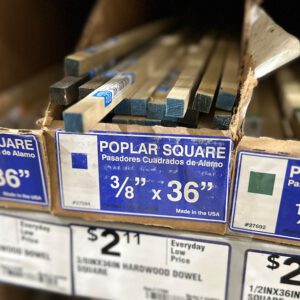
Now you can place your lantern face inside to rest on those blocks and prepare to install the 3/8” square poplar vertical supports on either side. These act as the front “track” to keep the face from falling forward. You’ll want to use a very tiny bead of glue on only one side of the 3/8” support piece and install this with the glue facing the inside of the side pieces, making sure to not glue it to the face.
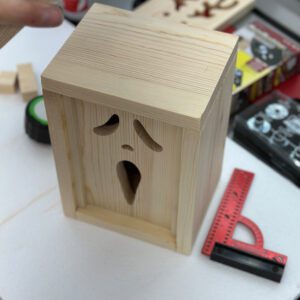
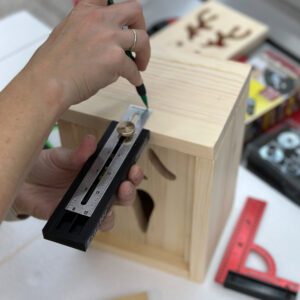
Finally, use the Exactor™ to mark borders where your last remaining Part D will go on top for it to be centered and apply glue. Again, use super glue here if you do not have wood clamps and want good adhesion in a short amount of time.
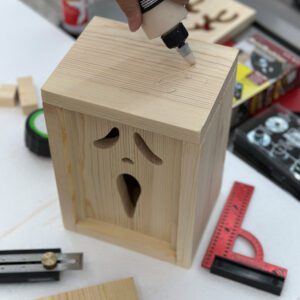
I chose to add decorative pieces of the 3/8” poplar at the top and bottom on the front since I had extra. Note, the top horizontal piece will have to be glued to the underside of the lid. This acts as another great way to hold the face in place. I also opted to use my bandsaw to cut a half circle handle to add to the lid as well. Feel free to get creative here and put your own finishing touches on it to make an awesome lantern with the ability to change out the faces for different seasons and celebrations!

If you would like to explore purchasing either digital files for templates (great if you own a laser or CNC) OR need to purchase an acrylic template for this project, please visit www.oakhillmillworks.com and look under DIY Project Supplies.
Thanks for following along with this tutorial here. Hopefully this was a great experience for you and helps you to build out your shop and your skills, all with a little help from your friends at Milescraft.
Additional Resources:
Everything I used from Amazon
Things I used from Lowe’s
This tutorial was provided by Christy Miller, with Oak Hill Millworks. Follow along with Christy for more woodworking and Milescraft content at: www.instagram.com/oakhillmillworks.
SUPPLIES
Tools/Supplies Needed:
• 1 x 6 x 6 pine board from Lowe’s
• Wood glue
• 18g Brad nails or screws
• Circular saw or Miter Saw or Hand saw
• Tape measure
• Template for design options found here
• Double-sided tape
• Milescraft MetalBushingsSet™
• 1/4” or 1/8” router bit
• Router
Cut List:
• Part A – Sides – 9” x 5.5”
• Part B – Designs/Face and Back – 8.25” x 5.5” (More needed for more designs)
• Part C – Top & Bottom – 7” x 5.5”
• Part D – Inner & Outer Top – 3.25” x 5.5” and Bottom Inside Spacer
• Part E – Vertical Supports – 3/8” x 8.25”
• Part F – Horizontal Decorative Supports – 3/8” x 4.75”
• Part G – Handle – 3” half circle

